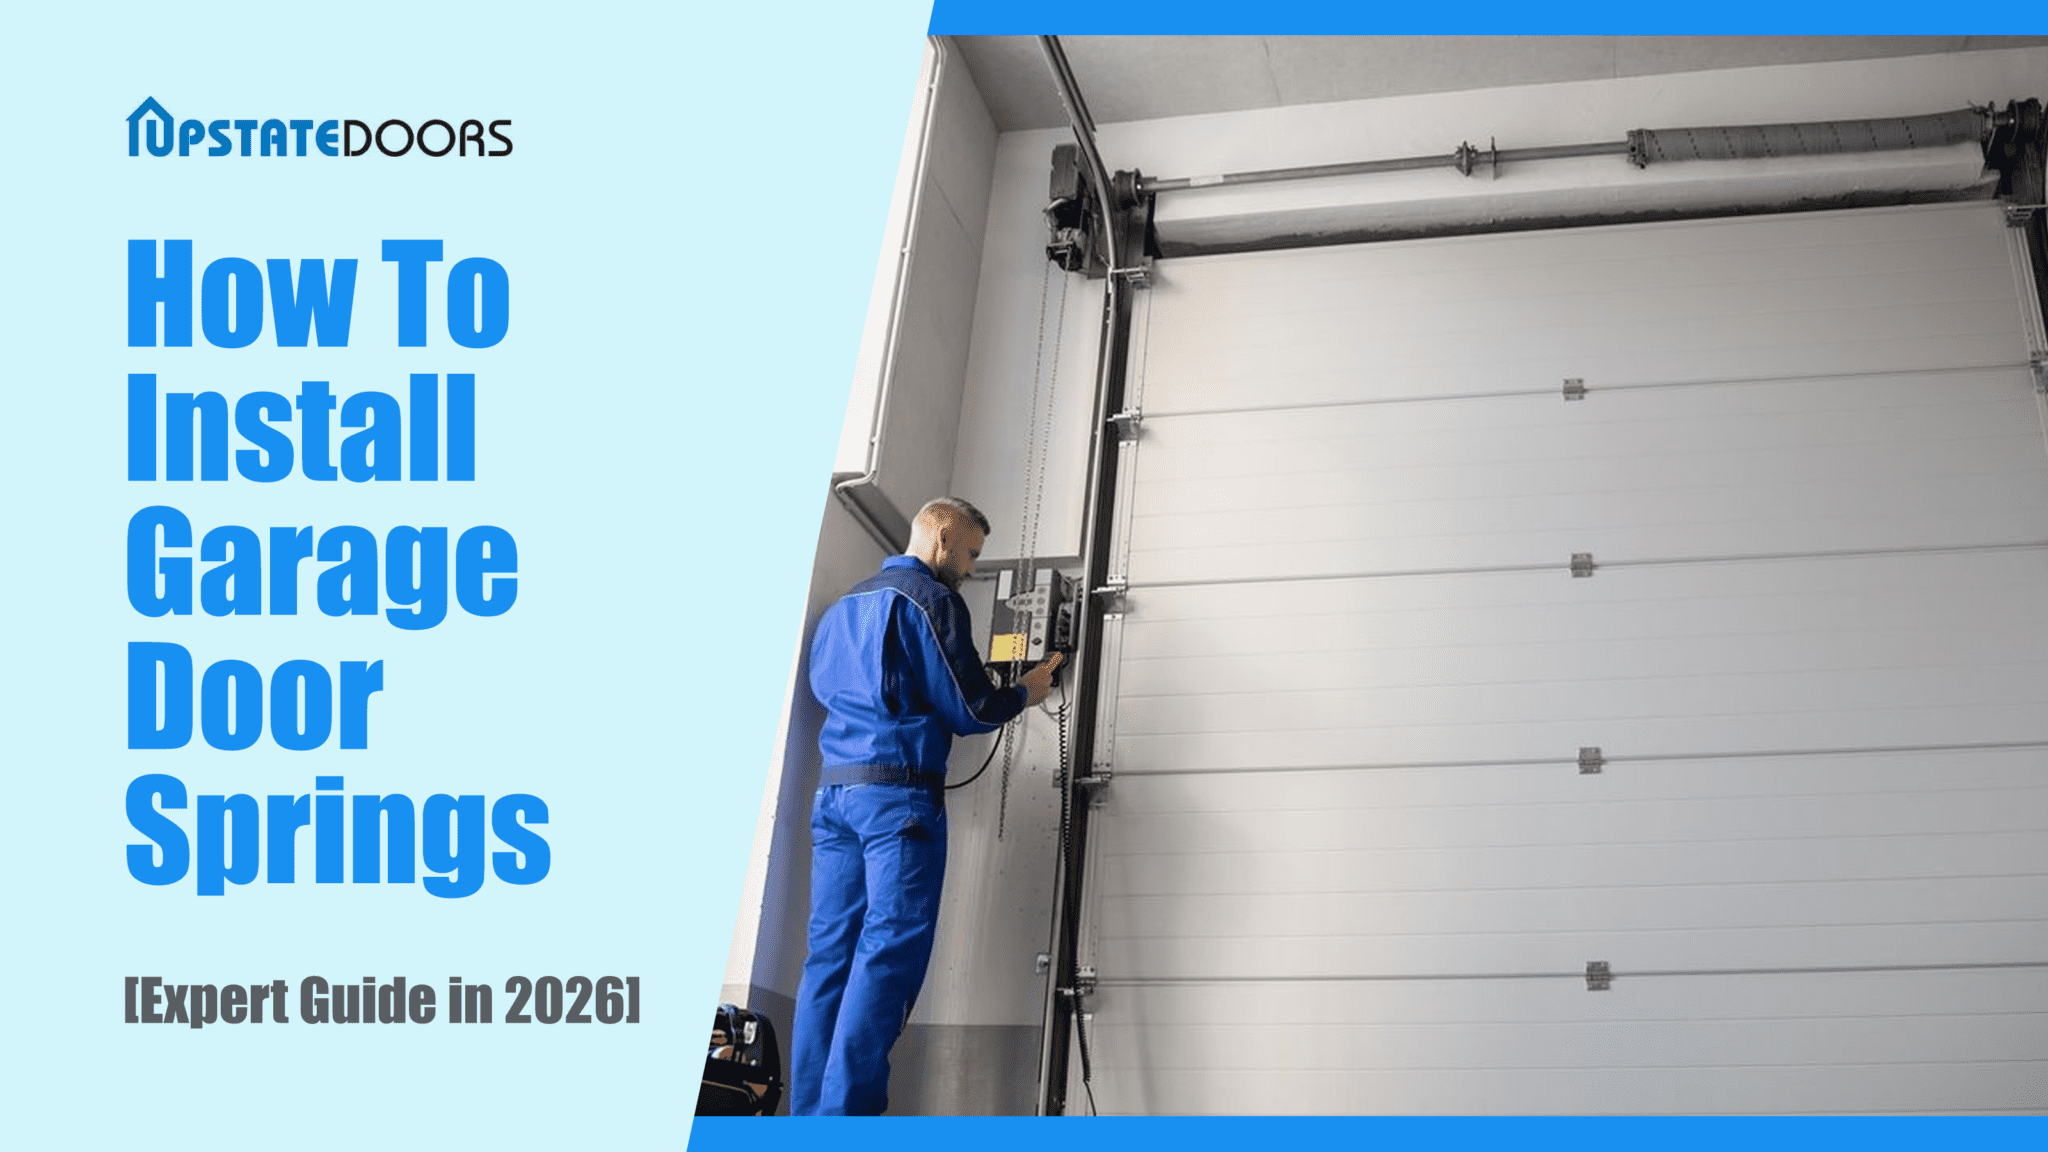
Have you ever pulled into your driveway only to find your garage door stuck halfway? If so, there is a good chance your garage door springs are worn out or broken. Springs are one of the most important components of any garage door system, and when they fail, the entire door becomes unusable.
You can install garage door springs by disconnecting the opener, securing the door, removing the old spring, installing the new one, and carefully winding it to the correct level.
In this expert guide, you will learn everything you need to know about how to install garage door springs, including the different types of springs, the tools required, and step-by-step installation instructions for both torsion and extension springs.
Tools and Materials You Will Need To Install Garage Door Springs
Before you get started, it is important to gather everything you need in one place. Here is everything you will need:
Tools:
- Winding bars (2)
- Adjustable wrench
- Socket wrench set
- Locking pliers or C-clamps
- Tape measure
- Safety glasses
- Work gloves
- Ladder
- Marker or chalk
Materials:
- Replacement garage door spring (torsion or extension)
- Spring cables (if replacing)
- Cable drums
- Bearing plates
- Bolts and nuts
- Garage door lubricant (lithium-based spray)
Safety Equipment:
- Safety glasses or goggles
- Heavy-duty work gloves
- Steel-toed boots
- Hard hat (optional but recommended)
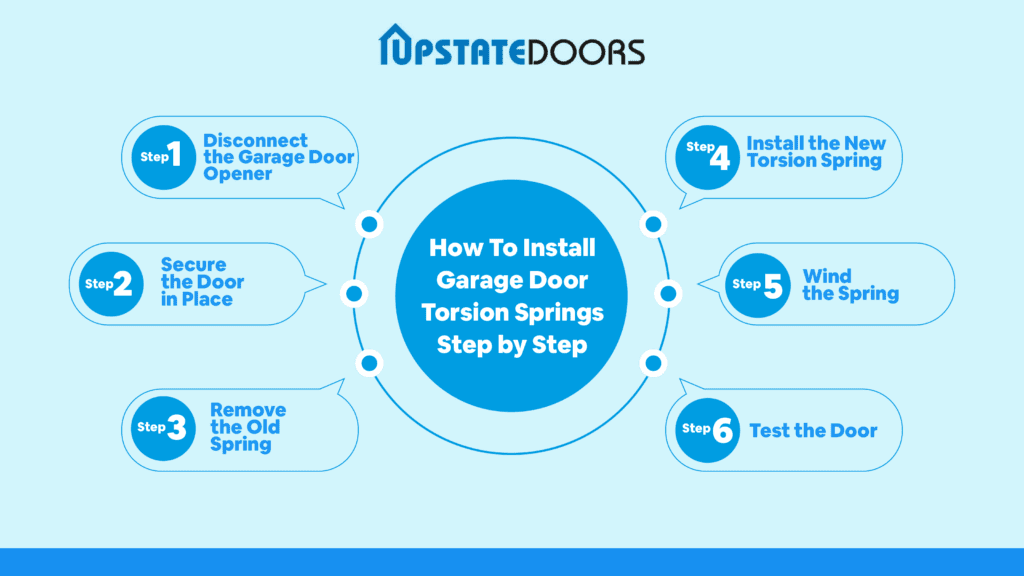
How To Install Garage Door Torsion Springs Step by Step
Replacing a torsion spring may seem intimidating at first, but if you follow each step carefully and prioritize safety, you can get your garage door working smoothly again. Here is exactly what to do:
Step 1: Disconnect the Garage Door Opener
Before touching anything, make sure the power is completely cut off to avoid any accidental activation during the process.
- Unplug the garage door opener from the electrical outlet
- Pull the emergency release cord to disconnect the door from the opener carriage
- Lock the door in the closed position using a C-clamp or locking pliers on the track
- Double-check that the door cannot move before you proceed
Step 2: Secure the Door in Place
The door must be completely stable before you remove the old spring, as an unsecured door can slam shut and cause serious injury.
- Place a C-clamp or vise grip on the vertical track just below the bottom roller
- Make sure the clamp is tight enough to hold the full weight of the door
- Test the door by gently pushing it to confirm it does not move
- Keep the door in the fully closed position throughout this step
Step 3: Remove the Old Spring
This is one of the most critical steps, as torsion springs are under extreme tension even when the door is closed.
- Insert a winding bar into the bottom hole of the winding cone
- Slowly unwind the spring by turning the bar in small increments
- Use a second winding bar to maintain control at all times
- Never use your hands alone to hold the spring during unwinding
- Once fully unwound, loosen the set screws on the winding cone
- Slide the spring off the torsion bar carefully
Step 4: Install the New Torsion Spring
Now it is time to fit the new spring onto the torsion bar in the correct position.
- Slide the new spring onto the torsion bar from the center bracket outward
- Make sure the spring color code and wind direction match your door specifications
- Align the stationary cone with the center bracket and tighten the set screws firmly
- Ensure the spring is seated properly before moving to the next step
- Apply a small amount of garage door lubricant to the spring coils
Step 5: Wind the Spring
Winding the spring correctly is essential for the door to operate safely and with the right amount of tension.
- Insert the winding bar into the bottom hole of the winding cone
- Wind the spring in quarter-turn increments, counting each turn carefully
- A standard garage door typically requires seven to thirty turns, depending on the door height
- Always keep a firm grip on the winding bar to prevent it from slipping
- After winding, stretch the spring slightly by tapping it with a hammer to seat the coils
- Tighten the set screws securely once the correct tension is achieved
Step 6: Test the Door
Once the spring is installed and wound, it is important to test the door before putting it back into regular use.
- Remove the C-clamp from the track
- Manually lift the door halfway and let go to check if it stays in place
- If the door falls or shoots up, the spring tension needs to be adjusted
- Reconnect the garage door opener once you are satisfied with the balance
- Run the opener two to three times to confirm smooth and even operation
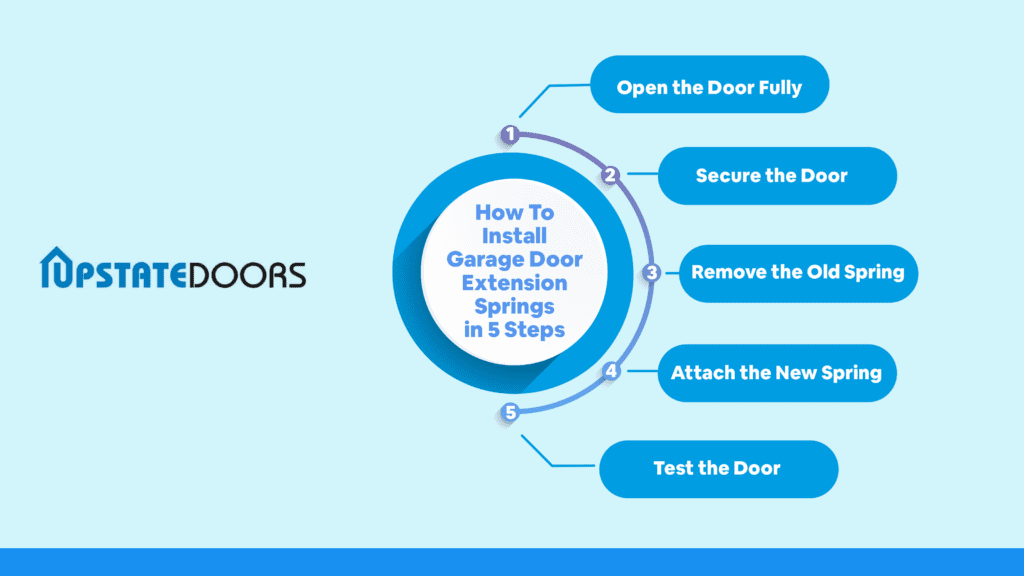
How To Install Garage Door Extension Springs in 5 Steps
Extension springs run along the horizontal tracks on either side of your garage door. They stretch and contract to support the door’s weight as it opens and closes. Follow these simple steps to get the job done safely and correctly.
Step 1: Open the Door Fully
Before you touch anything, you need to release all tension from the springs by opening the door completely.
- Pull the emergency release cord to disconnect the opener
- Manually lift the door all the way up until it is fully open
- Make sure the door slides smoothly along the tracks before proceeding
- Keep the door in the open position so the springs are fully stretched and tension-free
Step 2: Secure the Door
With the door open, you must lock it in place so it does not accidentally fall while you are working.
- Use a pair of locking pliers or C-clamps on the track just below the bottom roller
- Make sure the clamps are tight, and the door cannot slide down
- Double-check that the door feels completely stable before moving on
- Never work under an unsecured door, as it can cause serious injury
Step 3: Remove the Old Spring
Now you are ready to take out the damaged or worn extension spring.
- Locate the spring running along the horizontal track on each side
- Unhook the spring from the rear track hanger at the back
- Disconnect the safety cable that runs through the spring
- Unhook the front end of the spring from the pulley or bracket
- Carefully slide the old spring off and set it aside
Step 4: Attach the New Spring
With the old spring removed, it is time to fit the new extension spring into position.
- Slide the safety cable through the center of the new spring first
- Hook the front end of the spring onto the pulley bracket near the door
- Stretch the spring along the track toward the rear hanger
- Hook the back end of the spring firmly onto the rear track hanger
- Make sure both ends are fully and securely hooked before moving forward
Step 5: Test the Door
The final step is to test the door to make sure everything is working properly.
- Remove the clamps or locking pliers from the track
- Manually lower the door slowly and observe how it moves
- Reconnect the garage door opener and run it through a full open and close cycle
- Listen for any unusual sounds like squeaking or grinding
- Check that the door opens and closes smoothly and evenly
Can You Install Garage Door Springs Yourself?
Yes, you can install garage door springs yourself, but it is not a task to take lightly. Garage door springs are under extreme tension, and if handled incorrectly, they can snap and cause serious injury.
The most important thing to understand is that there are two types of springs: torsion springs and extension springs. Extension springs are generally considered safer and easier for a beginner to handle on their own.
Torsion springs, on the other hand, store much more tension and are more complex to install, so they are better left to a professional if you are not confident.
Here are a few things to ask yourself before you decide to do it yourself:
- Do you have the right tools, such as winding bars, locking pliers, and a winding rod?
- Are you comfortable working in a space where one mistake can cause injury?
- Do you know the correct spring size and weight rating for your specific door?
- Have you watched or read a full guide before starting the job?
If you answered yes to all of these, you are likely ready to take it on yourself. If you are unsure about any of them, it is always smarter and safer to call a professional.
Final Thoughts
You now have everything you need to know about how to install garage door springs safely and correctly. Whether you are replacing a torsion spring or an extension spring, following each step carefully can save you both time and money.
Always wear protective gear, never rush the process, and double-check every connection before testing the door. If at any point the job feels too complex or risky, do not hesitate to call a professional. Your safety is always more important than saving a few dollars.