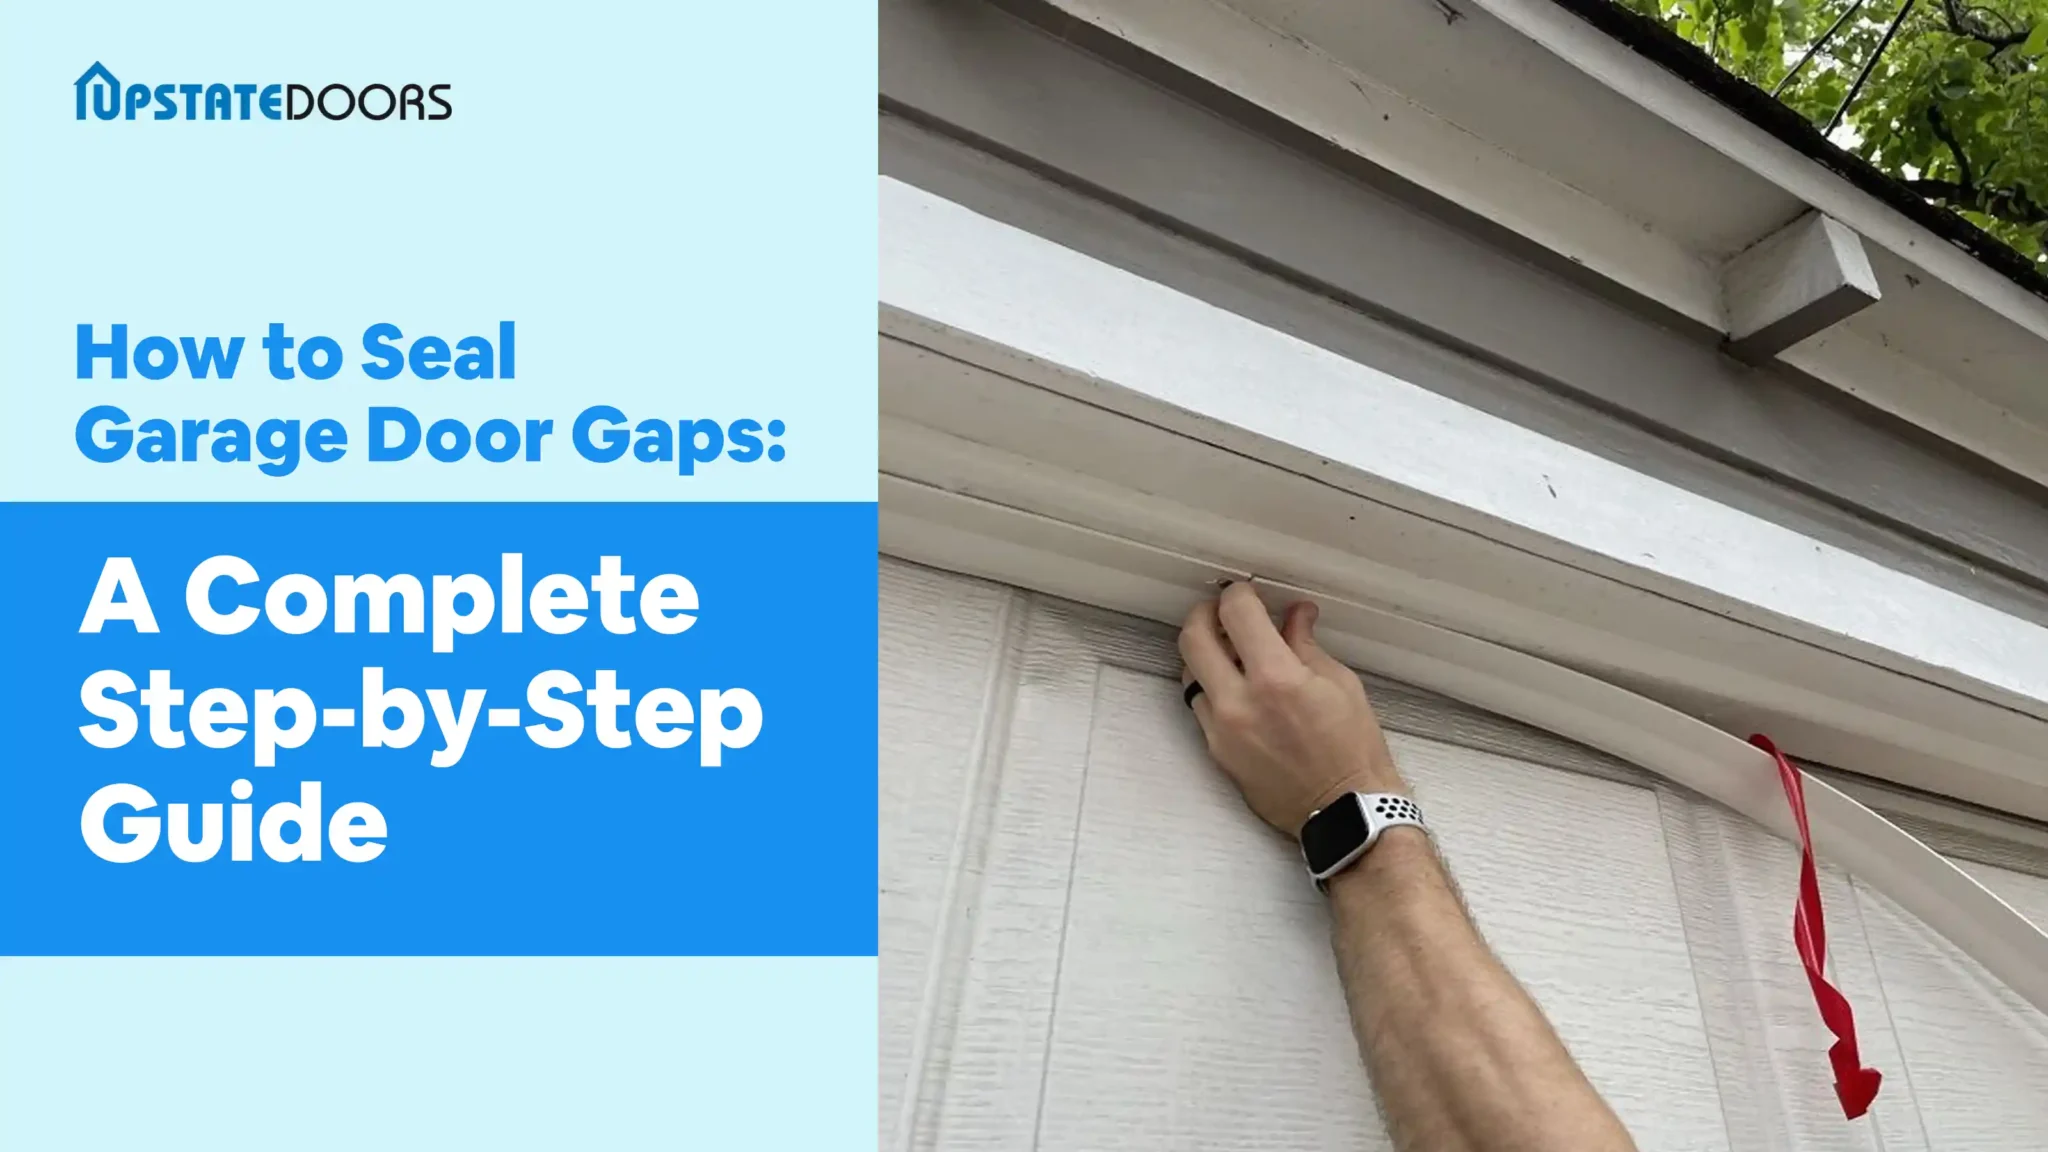
Is your garage letting in cold drafts, rainwater, or unwanted pests? Gaps around your garage door are more common than you think and can lead to higher energy bills, water damage, and uncomfortable temperatures inside your home.
You can easily seal garage door gaps with basic tools and affordable materials without hiring a professional. With the right weatherstripping, threshold seals, and door sweeps, you can effectively block out air, moisture, and pests in just a few hours.
In this article, you will learn everything about how to seal garage door gaps, including the best materials to use, step-by-step installation methods, and maintenance tips to keep your garage fully protected year-round.
Why Sealing Garage Door Gaps Is Important
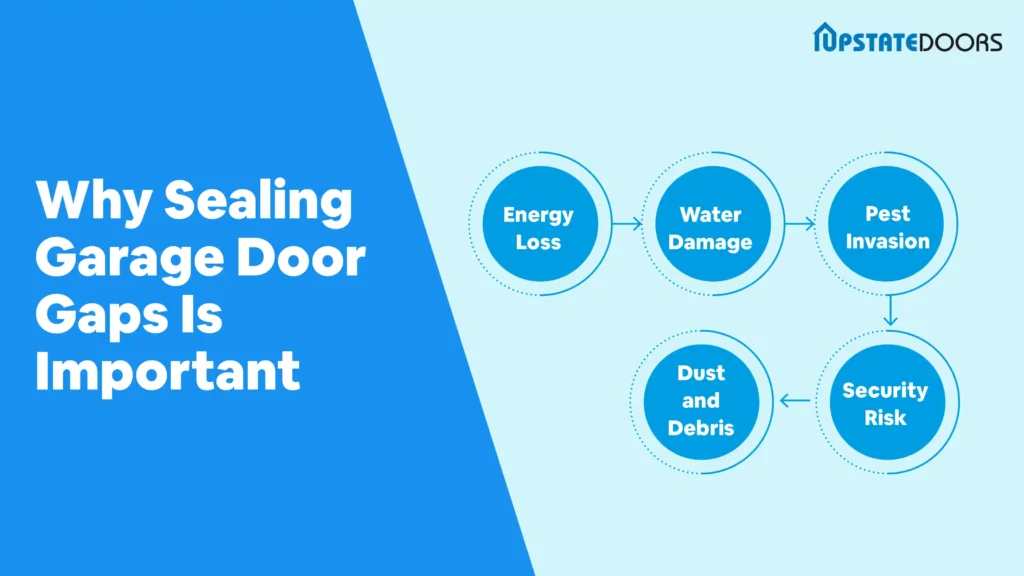
Gaps in your garage door may seem minor, but they can cause serious problems over time. Here are the key reasons why sealing them should be a priority:
- Energy Loss: Unsealed gaps allow cold or hot air to enter your garage, forcing your heating and cooling system to work harder and increasing your energy bills.
- Water Damage: Rain and moisture can seep through gaps, leading to rust, mold, and structural damage to your garage floor and belongings.
- Pest Invasion: Even small gaps are enough for insects, rodents, and other pests to enter your garage and make their way into your home.
- Dust and Debris: Gaps allow dirt, leaves, and debris to blow into your garage, making it harder to keep clean and organized.
- Security Risk: Visible gaps can weaken your garage door structure, making it easier for intruders to force entry and compromising your home’s overall security.
Tools and Materials Needed to Seal Garage Door Gaps
Before you start sealing your garage door gaps, it is important to gather all the necessary tools and materials. Here is what you will need:
Tape Measure: Accurate measurements are the foundation of a clean, effective seal, so measure your garage door frame carefully before cutting any materials.
Scissors or Utility Knife: A sharp pair of scissors or a utility knife will help you cut weatherstripping and seal materials precisely to fit your garage door perfectly.
Weatherstripping or Door Seal Kits: These ready-to-use kits include all the essential sealing materials needed to cover gaps around the sides, top, and bottom of your garage door.
Garage Door Bottom Seal: This rubber strip attaches directly to the bottom of your garage door to create a firm barrier against water, drafts, dirt, and pests.
Sealant and Caulking Gun: A caulking gun loaded with quality sealant helps fill in stubborn cracks and gaps around the door frame that weatherstripping alone cannot fully cover.
Cleaning Supplies: Clean surfaces ensure better adhesion, so wipe down the door frame and floor thoroughly before applying any seals, strips, or adhesive materials.
How to Seal Garage Door Gaps in 6 Simple Steps

Now that you have your tools and materials ready, it is time to get to work. Follow these simple steps to seal garage door gaps effectively and keep your garage fully protected:
Step 1: Inspect and Identify the Gaps
Before you do anything else, take a close look at your garage door to understand where the gaps are coming from. Grab a flashlight and carefully check these areas:
- The bottom of the door
- The sides of the door
- Between the door panels
Run your hand along the edges to feel for any air coming through, or use your flashlight to spot light sneaking in from outside.
Step 2: Replace the Bottom Seal
The bottom seal takes the most punishment since it constantly contacts the ground every time the door opens and closes. When it wears out, drafts, water, and pests find their way in easily. Here is how to replace it:
- Remove the old seal carefully using a screwdriver or utility knife
- Clean the bottom edge of the door thoroughly to remove dirt and debris
- Measure the door width and cut the new seal to the correct size
- Slide the new seal into the retainer track or secure it using a strong adhesive
Pro Tip: Choose a bottom seal with a U-shaped design, as it offers better flexibility and creates a tighter contact with uneven surfaces.
Step 3: Install a Garage Door Threshold Seal
A threshold seal sits directly on the garage floor right beneath the door and works as a second line of defense against water and drafts. It is helpful for garages with slightly uneven floors.
Follow these steps:
- Clean the floor surface thoroughly and let it dry completely
- Measure the full width of the door and cut the threshold seal to match
- Apply the adhesive evenly along the floor and press the seal firmly into position
- Leave it to cure for the time recommended by the manufacturer before closing the door
This type of seal is particularly effective for homes where the floor is not perfectly level, and standard seals struggle to make full contact.
Step 4: Replace or Add Weatherstripping
Weatherstripping covers the sides and top of your garage door frame and prevents air and moisture from creeping in around the perimeter.
Over time, it cracks and loses its effectiveness, so replacing it makes a big difference.
Here is what to do:
- Pull off any old or damaged weatherstripping from the door frame
- Wipe the surface clean and let it dry before applying anything new
- Measure and cut the new weatherstripping to fit each side accurately
- Nail or screw it firmly into place to make sure it presses snugly against the door when closed
Fresh weatherstripping instantly improves how well your garage door seals against the outside elements.
Step 5: Adjust the Garage Door Alignment
Sometimes gaps appear not because of worn seals but because the door itself has shifted out of alignment. A door that sits unevenly will always leave gaps, no matter how good your seals are.
Here is how to fix it:
- Use a level to check whether the door is sitting straight and even
- Tighten or adjust the tracks and hinges using a screwdriver until the door sits correctly
- Open and close the door a few times to confirm it moves smoothly and closes evenly
If the alignment issue seems more complex or the door feels difficult to adjust, it is best to call a professional to avoid causing further damage.
Step 6: Install a Brush Seal
Brush seals are a smart choice for irregular or uneven gaps that rubber seals struggle to fill. The soft bristles conform to the surface and create a consistent barrier along the bottom or sides of the door.
Here is how to install one:
- Measure the area where the brush seal will be placed and cut it to the right length
- Attach it firmly using screws or adhesive, depending on the surface
- Make sure the bristles press firmly and evenly against the floor or door frame
Brush seals are especially useful in older garages where surfaces have worn down unevenly over the years.
When to Call a Professional
While sealing garage door gaps is a straightforward DIY task in most cases, there are situations where the problem goes beyond a simple seal replacement.
Here are the signs that it is time to call in a professional:
- Severe Door Misalignment: If your garage door is significantly out of alignment and refuses to close evenly despite your adjustments, the issue may lie with the tracks, springs, or cables, which require professional attention.
- Broken or Worn Out Springs: Garage door springs are under extreme tension and are very dangerous to handle without proper training and tools. Never attempt to replace or adjust them on your own.
- Damaged Door Panels: If the door panels themselves are warped, cracked, or bent, no amount of sealing will fix the underlying problem. A professional can assess whether the panels need repair or full replacement.
- Persistent Gaps After Sealing: If you have already replaced the seals and weatherstripping, but gaps keep coming back, there may be a deeper structural issue with the door frame or the door itself that needs expert diagnosis.
- Unusual Noises or Movement: If your garage door makes grinding, squeaking, or rattling sounds during operation, it is a clear sign that something mechanical needs to be inspected and repaired by a trained technician.
If you are experiencing any of these issues and need reliable, expert garage door services, Upstate Doors is here to help. With years of hands-on experience and a team of skilled professionals, Upstate Doors provides top-quality garage door repair, replacement, and sealing services you can trust. Do not let a small gap turn into a costly problem.
Final Thoughts
I hope you now know how to seal garage door gaps and feel confident enough to tackle the job yourself. With the right tools, materials, and a little patience, you can block out drafts, moisture, and pests while improving your garage’s energy efficiency.
Regular inspection and timely maintenance will keep your seals in great shape for years to come. However, if the problem is beyond a simple DIY fix, do not hesitate to reach out to a trusted professional for expert assistance.